In my 2014 recap post I spilled the beans that we're doing a laundry room renovation. But it's not just a renovation, we're creating a new room from scratch!
Here's what we're working with now—I had to break out the wide angle lens for this space—it's so tiny!

It's not even a room—just a 60" long pass through between the garage door and the hall door.

The layout is horrible. The washer and dryer aren't configured properly, they stick out too far, and you can't open more than one door without it hitting something else, let alone try to fit a laundry basket in there!

Don't be fooled by the lens—I can easily reach my arms out and touch both doors. We tried to think of every way possible to widen the room but there's a bathroom on either side and no way to knock out the walls. It was hopeless.
Then last month in a stroke of genius, Brad suggested we convert our empty room downstairs to a laundry room. Best idea ever!
Now, this "room" hardly qualifies as a room. It's a small and narrow dungeon-like space with 7' tall ceilings, no windows/ventilation, and exposed HVAC pipes. It's a small prison cell, basically.
Here's how it looked when we moved in:

Brad decided to use the main area as a makeshift office and I filled the back with storage. Excuse the mess, this was right as we were cleaning it out.


Looking towards the entrance:

Just to give you an idea of where this is in the house, it's just off the living room downstairs. Here's the view of the entrance from the staircase (the living room is on a half level):

And here it is from the downstairs hallway:

Ready to see the plan?

Here's our to-do list:
1. Rip out the ceiling We can't raise the height, but by keeping the joists exposed we'll gain an extra 8" visually. I'll have it painted a soft gray and go with a rustic-industrial-chic look.
2. Rip out the floors, insulate & tile Because we're eliminating our ceiling insulation, we need to insulate underneath the floor which requires ripping it all out and starting from scratch. I plan to use a light colored wood-like tile all the way through.
3. Rip out the back platforms We're working with a handyman on the demo who says he can dig out the ground and make the floor all one level.
4. Build a wall and add a storage room in the back Once the floor is level, A wall will go up and I'll add Ikea wardrobes across the back wall along with other storage solutions to keep all of our home decor organized and easily accessible.
5. Recess the washer and dryer Behind the back wall of this room is a small open area underneath the house. Our handyman will dig out & create a platform, build a box for the washer/dryer and recess it so it's flush with the wall and doesn't take up any space inside the room. I also want to create built in drawers below the washer/dryer for extra storage.
6. Skim coat the walls There's currently a mess of mismatched & poorly patched wall texture. We thought about covering it all with headboard then decided to keep it simple and skim coat it instead so it's smooth drywall.
7. Add cabinetry & a sink along the back wall Here's the general layout:

I used Ikea cabinets as an example, but what I want is fairly custom so I'm going to get a quote from Lowe's to see if it's a better option. I do know I'll be using the ikea farmhouse sink and faucet, light gray cabinets, butcher block countertops, white subway tile, a reclaimed wood floating shelf and wall lamps.
8. Lighting There will be four wall lamps (shown in the photo above)—two on each main wall. We'll also have two fixtures in the center of the room on the ceiling with spotlights to illuminate different areas. Since the ceiling is completely exposed, lighting is tricky and we need to keep it clean and simple to minimize the wires (we normally do recessed which isn't possible here).
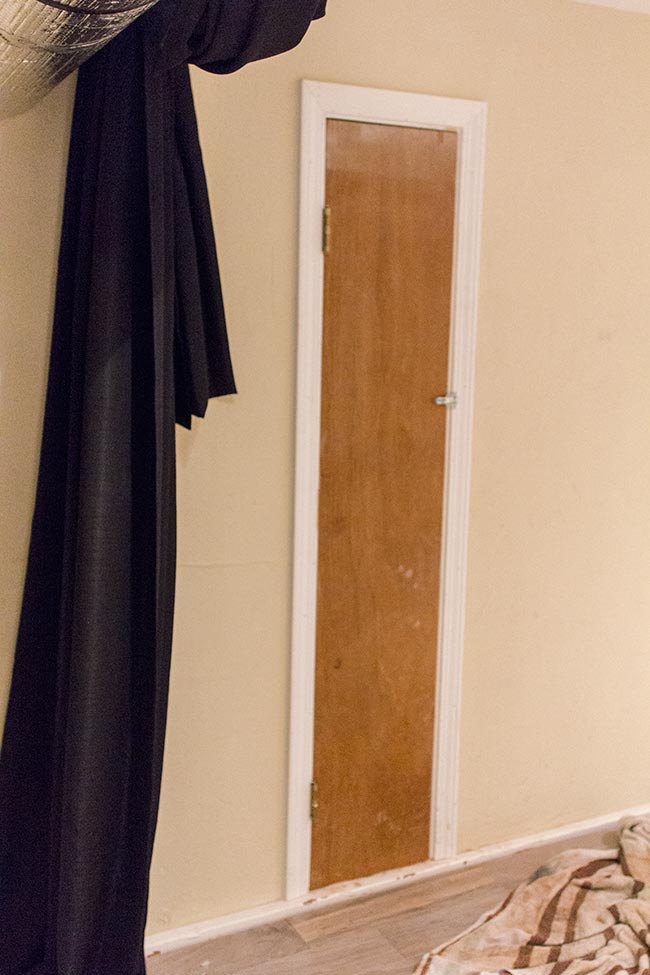
9. New doors We're reframing the main entry door and I have something fun for that in mind. I'll also be building a sliding barn door to separate the storage room, and we're eliminating this useless sliver of wood and adding a pocket door (this leads to more empty space under the house for storage):
10. Hooks & storage solutions I'll add hooks for hangers/clothes drying, as well as a spot to hang an ironing board and possibly an interchangeable gallery wall. Still working out the details!
It's easy to break this down into 10 steps but of course there will be a ton of work involved behind the scenes—demo, electrical for ceiling lights, appliances & wall lamps, new plumbing for the sink and washer/dryer, rebuilding a floor, putting up a wall & doors, drywall, tile, paint, etc etc! It's basically a small scale kitchen reno.
And then we have the old laundry room—that will be converted into desk/workspace nook for Brad with cabinets for storage. But I'm not even thinking about that until this laundry room is finished! We have our subcontractors lined up, and the project timeline will depend on when our handyman can start (we're waiting to hear back). I would say a couple months as a rough estimate but hopefully sooner.
I also have big changes in the works for my website and this blog that will keep me occupied for a while so it's going to be quite busy around here—can't wait to share those!
Hopefully by next week I'll have lots of demo to show you. We've been planning for weeks and are anxious to get this ball rolling. Here's to starting the new year off right!

0 comments:
Post a Comment